Background
During most of the 1990's Land Rover had offered three mainstream options, the Range Rover, Discovery and Freelander, all in various generations and guises. My favourite was the classic Range Rover in V8 form, but at 16-17 mpg it was expensive to run, and the later more desirable models had more and more kit bolted on which in turn made them more complicated and less reliable. The Discovery of the 300TDi generation was a newer design, and in TDi form more of a practical proposition returning around 26 mpg. Both the Range Rover and Disco options were cheap to buy, but both rusted badly in many places, and whilst the main mechanical components were pretty bullet proof, their ancillary items were a constant source of problems. The chassis and steel body parts rusted, ABS cruise and all electrics were temperamental, and even the simple things like window winders needed regular replacement.
The Freelander had a complete set of problems of its own, and whilst a capable vehicle, was at best troublesome, and was never considered to be in the same league as the Range Rover or Disco, lacking the off-road and towing abilities of its bigger siblings. The P38 Range Rover was a truly excellent design that had great potential, regrettably totally spoilt by horrendous build quality and dire reliability.
The Defender was the oddball choice. It is a fine vehicle, both on and off-road, but blighted by poor initial design, corrosion problems, and shared the component failures of its more road biased cousins. It is in a market segment of its own, and has an idiosyncratic appeal that is both its making and its downfall. It looks the part, and is the part, but its shortcomings make it very difficult to live with.
There are certain highlights to all models. The Range Rover between 1985 and 1991 gave a choice of attributes in V8 auto form, with a finale in 1994 offering the soft dash with the 300TDi option, albeit with much complication from added kit. The Disco between 1994 and 1998 in the ES 300TDi auto variant was the best it got, before the component cost and complication of the TD5. The Defender between 1994 and 1998 in 300TDi form is pretty much every bodies choice for its simplicity.
So what other choices are out there?
The Mitsubishi Shogun is a popular 4x4, but sadly the Japanese have never really mastered building a diesel engine, both available variants combining poor performance with economy on a par with petrol engines. Although never owning one, the 3.5 litre V6 (not to be confused with the 3 litre) seemed the best choice. The Isuzu Trooper offered another option, but the reliability seemed patchy, especially with engines. This then just really leaves the Toyota offerings. The Landcruiser in 80 form, latterly called Amazon, is every bit a match for a Range Rover, but fails to have the Solihull vehicles appeal, despite its total dependability. More of a head purchase than a heart one, it is nevertheless the vehicle of choice everywhere else in the world. Very few weak points - big end bearings on early diesels (but easy to replace) and corrosion of the ancillary diff locks being pretty much it. Owners keep them a long time, 20 year old examples still fetch good money, and 300,000 mile examples are commonplace.
There is of course the Landcruiser 90, or Colorado as it is called in the UK. I always considered this to be the budget version of the Amazon, and dismissed it as such, which I suspect most people do. However, it is more than worthy of closer inspection.
The Defender is a post war design, the Range Rover 1970, the Discovery 1989, same year as the Landcruiser 80. But by 1996 Toyota had decided to fill the gap in its model line up and build a brand new vehicle, to compete with the current offerings from other manufacturers and introduced the 90 series. This was a smaller version of the 80 outside, but the same size inside, offering 8 seats and both petrol and diesel variants. The diesel was good, although early versions suffered cracked head problems. The petrol was cutting edge, a 3.4 litre V6 with quad cams, 24 valves and a coil in plug configuration for ignition. Design was brand new in every area, and attention to detail excellent. Prices are roughly half the equivalent year Amazon for the diesel, and half again for the petrol, making them excellent value - probably around 30% of the cost of a same year 300TDi 110.
As you work on one it starts to impress, especially after Land Rovers. If you remove a door panel, it will just push back on - with a Land Rover a third of the clips break, another third stay in the door, and pull out of the door card. With a Disco the air intake is in the front wing, with a Landcruiser it is ducted to the top of the front wing, to almost 4 foot above the ground. Whilst I love the Land Rover V8, it is still an old Buick, with the distributor at the front and ignition leads everywhere. Show it a puddle and you stop. The Landcruiser V6 has no leads, no distributor. The V6 will return up to 20 mpg, hit 60 in 11 seconds, and top out at 110 mph. The independent front suspension gives much greater on road stability, without a perceptible loss of articulation off-road. With the VX you get air and leather, cruise that works, plus a rear axle diff lock.
The only failing on these otherwise is the rear diff lock corrodes from lack of use, but new units are not that expensive (and remember, these are aftermarket fitment on a Land Rover, not standard). And the reliability is legendary, after a year of running this one, the faults list is one rear light lamp replaced.
So a long and winding road had bought me to this point........
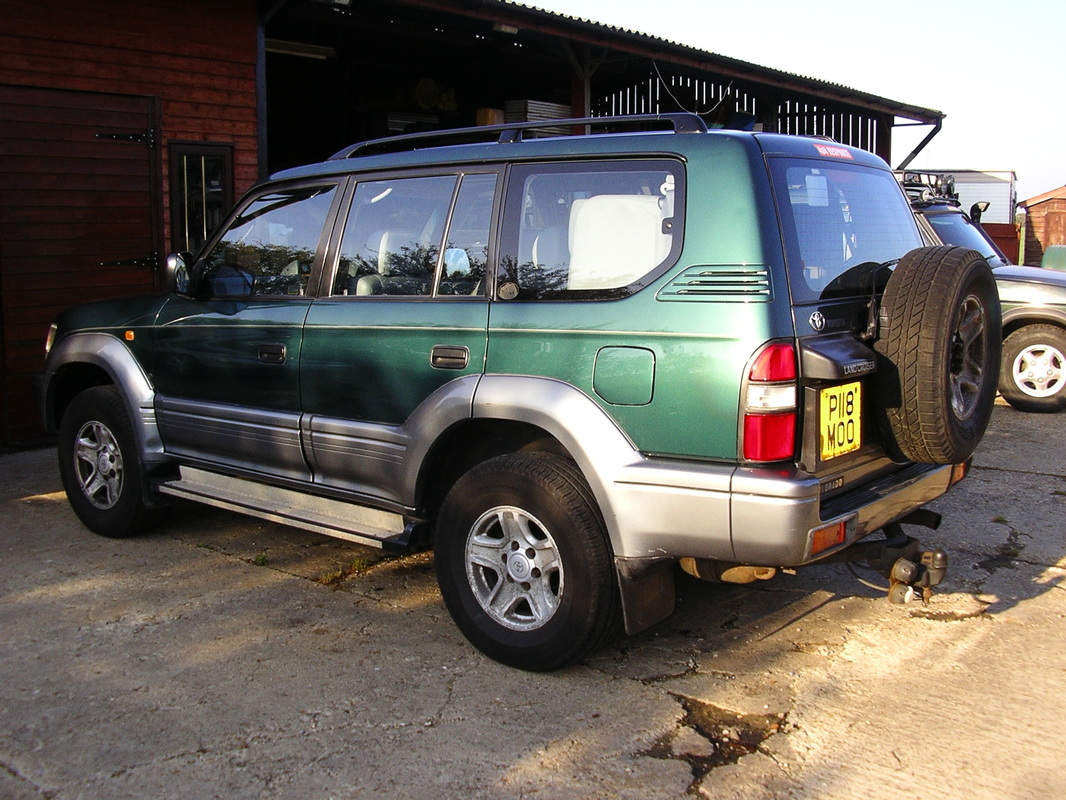
Landcruiser 90 Colorado VX 3.4 V6 1997

As purchased 2011
Plan A had not worked. I had bought the LC 90 Colorado to replace the Disco, but that had been at least a year ago, and Derinda still had the keys and was still muttering about it being her car. Her trips in it were still constant, and I suspect it was spending more time in Tescos car park than sat in our yard.
So the only solution seemed to be to move on to plan B. So in October 2011 one dark night we headed down to Ipswich to view another one listed on eBay. It was a 1997 VX 3.4 V6 petrol with 148,000 miles, only two owners, and surprisingly a full Toyota main dealer service history.
It was in pretty good shape, but had the usual corroded alloy wheels, and just some minor neglect. The current owner had owned it for eleven years, as is often the case with these. In 2006 it had a coolent leak on the rear heater pipes, but foolishly he had continued to drive it and overheated the engine. The 3.5k he had spent getting it repaired meant it had a whole new top end on the engine. We struck a deal at £1,800 and drove it home.
Cleaned up
|
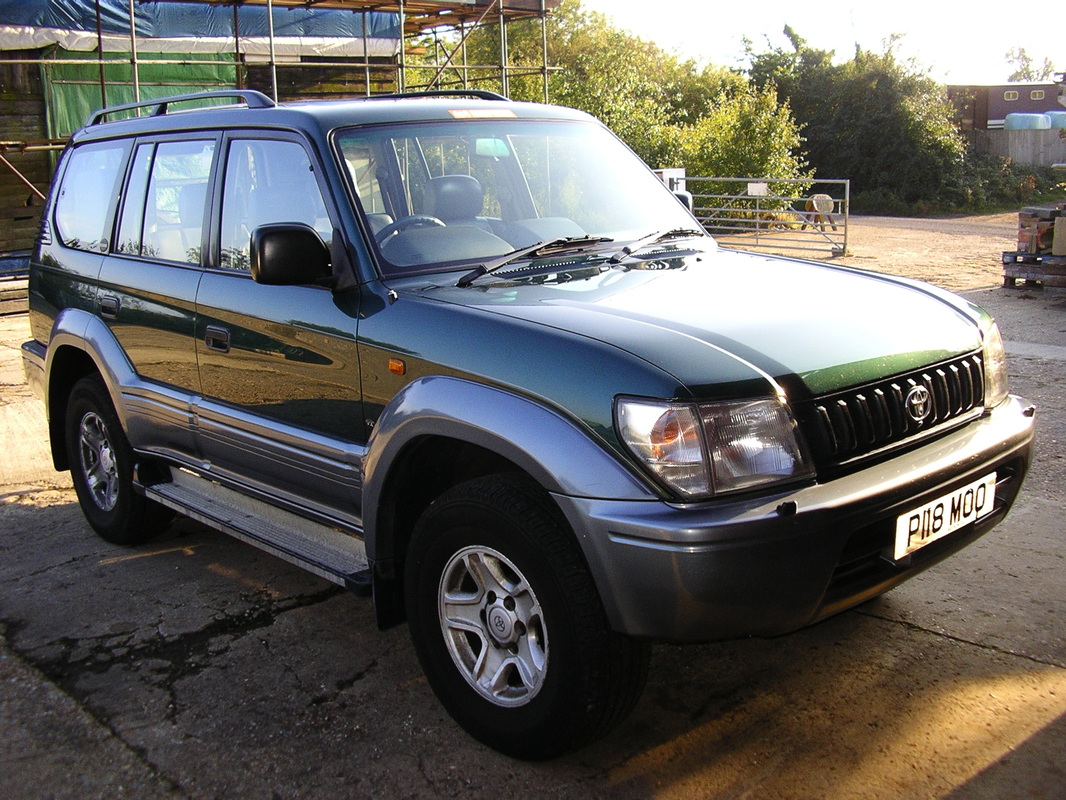
But still in original condition
|
With a bit of work it came up ok. The roof looked like it had never been cleaned since new, just been washed. I was really impressed with the bodywork, the only corrosion was a small chip on the bottom outside edge of the drivers door. This was on a 14 year old car with 148,000 miles on it! The underside had also weathered well, given it had never been protected, which meant lots of surface rust, but a sound chassis. The rear end was worst, and it was difficult to treat as effectively as I would have liked as the rear bumper fixings were corroded, meaning I could not remove it to gain unrestricted access. I don't really understand people neglecting underside rusting on cars, when a coat of Waxoil is so cheap and effective.
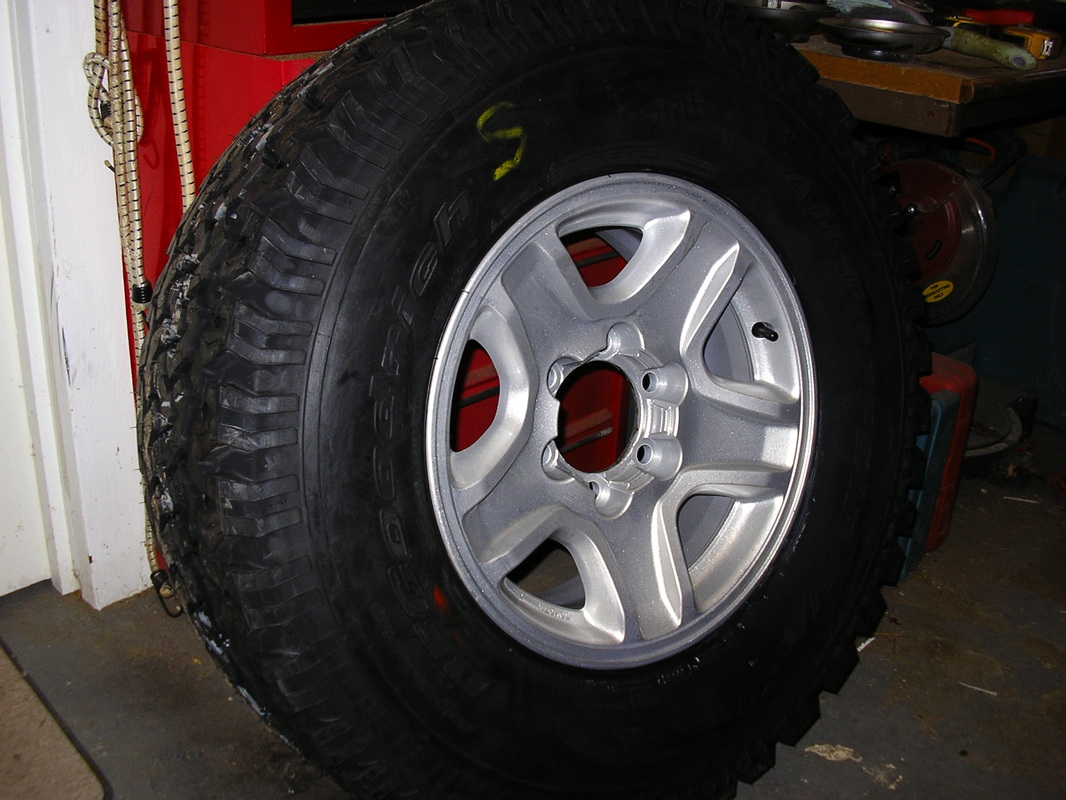
Refurbished wheels...
The first job was to get the wheels off, then the tyres off, and get the wheels to be shot blasted, refurbished and powder coated. I have a local firm that will make a wheel literally like new for just £40.
Once done, a new set of 5 BF Goodrich All Terrain tyres were fitted at horrendous cost - £750! Still, they are virtually indestructible and will certainly outlast the car. Size was increased slightly from standard to 265/75 R16, giving a slight increase in radius, without needing any mods or causing any problems. 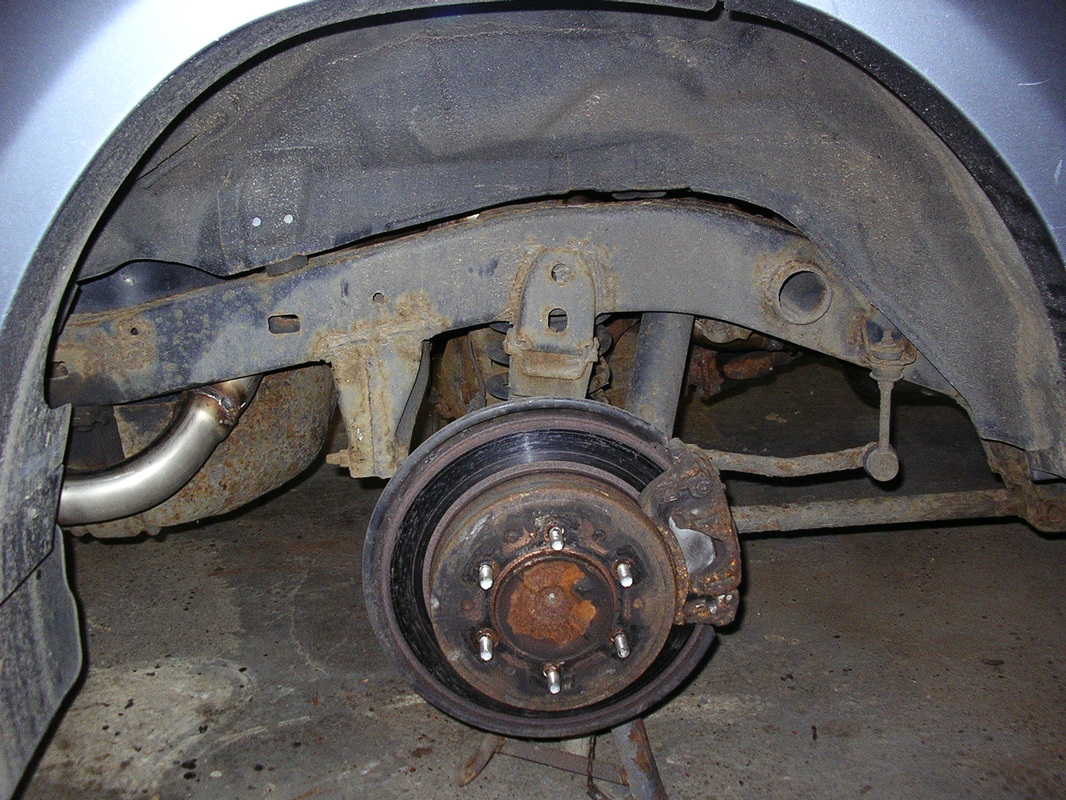
Rear wheel arch before rustproofing.
|

and new BFG A/T tyres
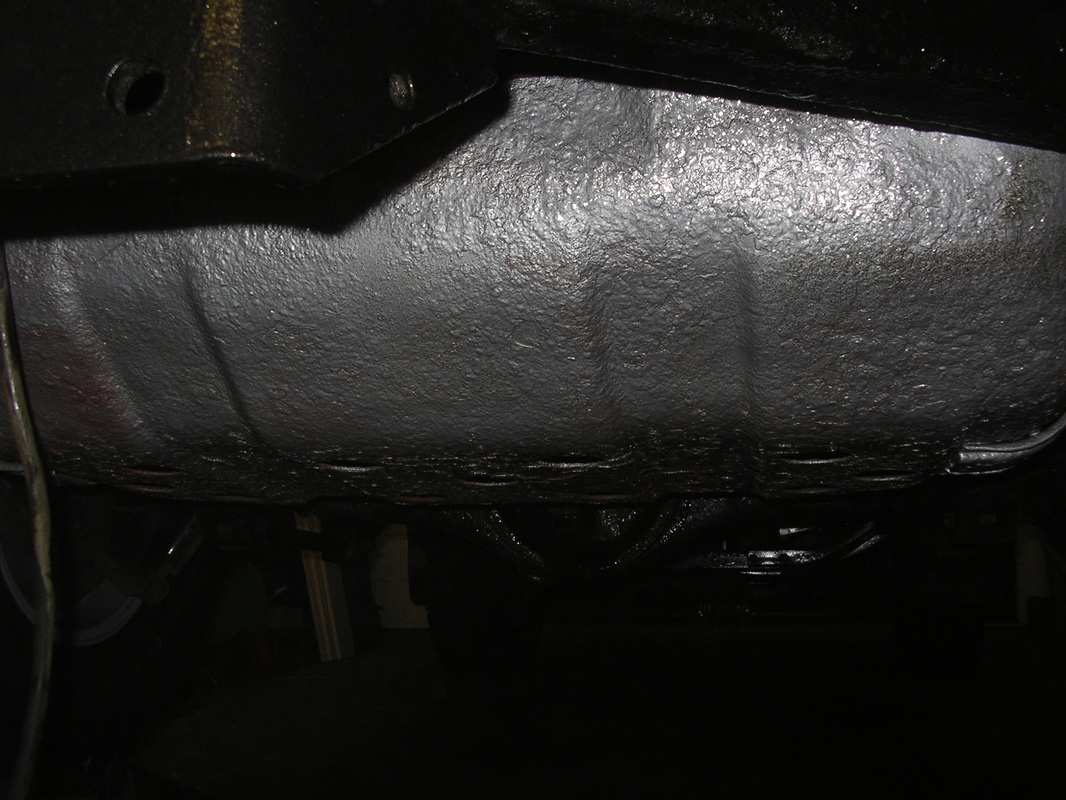
Rear underside protection plate after painting.
|
Whilst the wheels were off I treated the underside rust. As the Landcruiser is effectively sealed around the wheel arches, there was not a lot to do here, the arch linings being plastic. It is amazing Toyota can seal wheel arches without causing any rust traps, as is the case with similar aged Land Rovers. It is also amazing that Toyota just paint the chassis, and even after 14 years there is only light surface rust. The front and rear underside protection plates (yes, Toyota fit these as standard) had not fared so well, and had deep rust pitting, but were still otherwise fit for purpose. Behind the rear bumper was another surface corrosion area, but we are still only talking surface rust, nothing causing any structural worries.
The whole was pressure washed, lightly wire brushed on the rust, Bondaprimer and or Kurust applied, coats of Hammerite as required, and a final spray with underseal. A coat of Waxoil finished off, including injecting inside the chassis.
Just prior to this I had taken a trip down to a Powerflow dealer just south of Ipswich, who had fabricated a cat back sports exhaust from stainless steel at I thought a very reasonable £399. Not quite the V8 rumble that I am addicted to, but still a pretty nice sound for a V6.
Also the L/C went to visit my trusted local mechanic for an all fluids and filters service and a general check over, including re-gassing the A/C and a new Toyota battery.
Also the registration was replaced with a custom one, partly due to Derinda refusing to drive it with MOO on it! A bit of an expense, but added a nice touch to it's intended Search & Rescue use.

Prior to the tow bar work, but showing the new exhaust.
|
Whilst working on the rear end, I refurbished the tow bracket and sockets, and fitted a tow ball with a recovery pin.
The propriety brackets available put the sockets alongside the towing bracket where they would get damaged, so I made up a purpose made bracket to put these higher up out of harms way. I also fitted new sockets and auxiliary reversing lights to the tow bar bracket. This has proved an effective solution to what is usually a problem area. The extra reversing lights are fed from the existing circuit to automatically come on, but are fed via a relay so they don't add any additional load to the existing circuit, and are fitted with an isolate switch as having four reversing lights could be an MOT failure. |
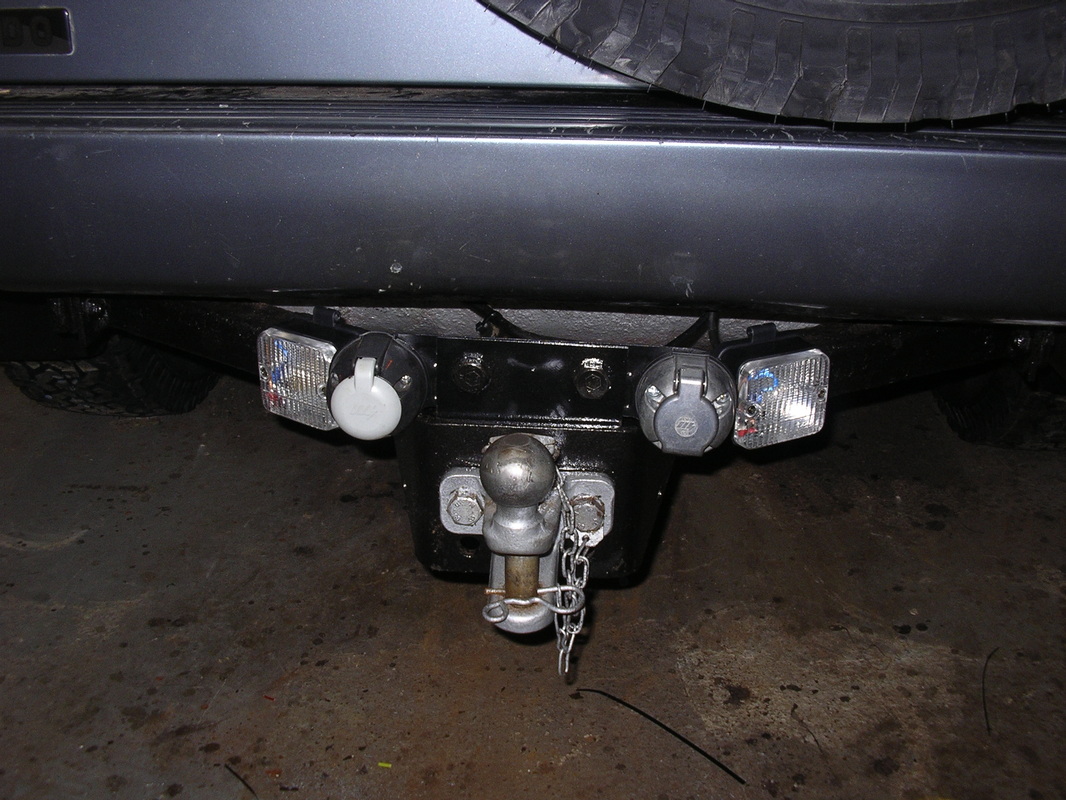
Refurbished Tow Ball
|
As standard the Colorado rear lights are modified for the UK market. There is a DOT requirement that rear lights must be visible when the rear door is open, which is not the case with the Colorado as the rear wheel obscures the offside lights. Toyota get around this in the UK by fitting new lights in the bumper. The rear side pillar lights are blanks, except for one reverse light on one side, and one fog light on the other.
I disliked this immensely, and set about adding the original lights back into the pillar light clusters. At the same time I wanted all running and interior lights to be low current LED, so the vehicle could be left with lights in use without drawing much current.
My mods consisted of adding four LED's as a tail light in the top aperture both sides, and a reverse lamp to the side without, as well as a fog light to the other side without. In addition I added an amber bulb and bulb holder to the reverse light aperture, so this would double as a second indicator.
As well as increasing the rear visibility, this put the higher level lights back in situ for trailer work, which would otherwise obscure all of the rear vehicle lights.
Whilst in the boot, I also added a 300mm fluorescent alongside the boot light, still fed from the interior lighting circuit, that could be switched on as needed, but still extinguished when the door was closed.
Fitting roof lights was one of the most important jobs. I did not want to fit a roof rack as I did on the Disco, in order to keep height and wind resistance down. I had toyed with fitting the lights internally, in a discrete fashion, but this would be less effective for their purpose. I really wanted covert lighting that was also of maximum effect. It also had to be tree proof, in that you could drive through a woodland if required without low branches damaging the lights. In the end a custom built light bar seemed the only solution.
I had previously trialled the amber led flashing units, and found these to be good, even in sunlight. Also good were the Ring Cruise lights, very small in size but with a 55w output, and the flood beam I needed for searchlights. These also suited being used to light the sides of the vehicle for searches. I decided on the layout, using more ambers on the rear, as these were more important for following traffic on road search protection use. I had some Thule roof bars to fit side rails I had bought in the past, plus a complete sheet of chequer plate off a previous 110 roof rack, and most of the electric wiring accessories.
The end result has worked well, although I should have fitted a plate on the underside as well, as I do get some wind buffeting around 80. Also the roof bar should have been further forward, which would have stabilised the leading edge better at speed. I have since fitted two rubber feet at the front, to limit bounce at speed, and this has helped. Generally I keep around 70mph, at which there are no problems, which is no bad thing. It is just a little frustrating having a 110 mph vehicle with an 80 limit on it - I have not tried it any faster, it could be ok, I just don't want it to end in tears!
|
|
I was a little concerned that the open rear door might not be visible at night. I came across some excellent small single led reflector units, just fit for my purpose.
I fitted a red one on the rear edge of the rear door, and a white one to the underside as a foot light. Both were switched via a door switch on the rear door, fed from the sidelight circuit. The red one has been excellent. The white one totally unnecessary, as I had not realised the number plate light already lit the ground admirably! |
As you might imagine, the wiring got pretty complicated!
The basis was that all load would be switched by relays and fed direct from the battery. All switches would operate the relays. The feeds to the relay coils would be from a suitable source, ie: lighting circuit for lights, reverse light circuit for reverse lights, etc. Plus all circuits would be measured for current and suitably fused.
This meant that it would be impossible to leave any outside lights on if you turned the sidelights off, or have the reverse lights on when you were driving forwards, etc. The exceptions were the amber roof lights, fog horn and radios, all of which need to keep working regardless of anything else. The other thing I wanted was for the switch indicator to work when the light was illuminated, not when the switch was on. In the case of the front spot lights, these only work on main beam, but are normally switched on ready - but the switch indicator only lights when they are actually lit.
The control system was much as I had done before on the Disco, but revised from experience. Except with the Landcruiser there is nowhere as much room under the drivers seat to put it all (about the only point I found where the Disco was better than the L/C!).
I documented all the cables and circuits on a running A3 wiring chart, it all being devised as I went along.
The above pictures show the strip down of the dash and centre console, most of these covers just pull off, again with impressive build quality. All wiring went down to the relay plate under the drivers seat, which was the control hub. Four lighting switches were added to the centre console next to the gear lever, and a micro switch button for the marine horn, and two to just under the steering wheel on the left. The centre console switches were fitted with a plug in connector, making the plate easy to remove. Various control feeds were picked up as necessary.
All the way through the build, each switch and light was tested, which highlighted any cross connections early on and saved later problems.
Whilst stripped down various cables were run for other purposes, some to the rear, some through to the under bonnet, as well as aerial cables.
All the way through the build, each switch and light was tested, which highlighted any cross connections early on and saved later problems.
Whilst stripped down various cables were run for other purposes, some to the rear, some through to the under bonnet, as well as aerial cables.
The centre cubby box was removed and two led backlights added, the front one coming on with sidelights, the one in the cubby box having its own switch fitted to the lid. A normal door switch was used for this.
I needed to accommodate three radios, the top one a normal Pioneer CD player, under this an Amateur Band radio, and at the bottom of the picture one that uses the Search and Rescue ALSAR 16 bands.
Fitting the Amateur with the conventional radio into a double din slot was a nightmare. I tried all sorts of custom made brackets to no avail, and what eventually worked was two wooden blocks, simply painted black on the ends. It is often the simple crude solutions that resolve a problem.
The S&R radio fitted in the lower storage slot just right, once the back of the plastic liner was suitably cut. Note the rear parking sensor display just in front of the top dials, and to the right of this was where the Sat Nav was to be fitted. The speaker for the S&R radio was also mounted on the dash up here, with the Amateur one fitting behind the lower console cover, where a speaker grill was already placed in the plastic trim.
The gear lever shown out of focus in the last picture had worn away its operation key on top of the gear knob. The imprint was still there, but not marked anymore. Some skilled use of Tipp-Ex highlighted the sequence once more.
The front end was stripped down and corrosion treated with Hammerite and Waxoil. The marine horn was fitted, and wiring put into place. An aluminuim bracket was constructed on which to mount the side floods, main beam spotlights and two radio aerials. The bumper was re-fitted, the bracket added on top, then the grille, lights and aerials.
This proved not a perfect solution, as there was some bounce on the bracket, but the later addition of two rubber buffers under the bracket has improved things.
This proved not a perfect solution, as there was some bounce on the bracket, but the later addition of two rubber buffers under the bracket has improved things.
|
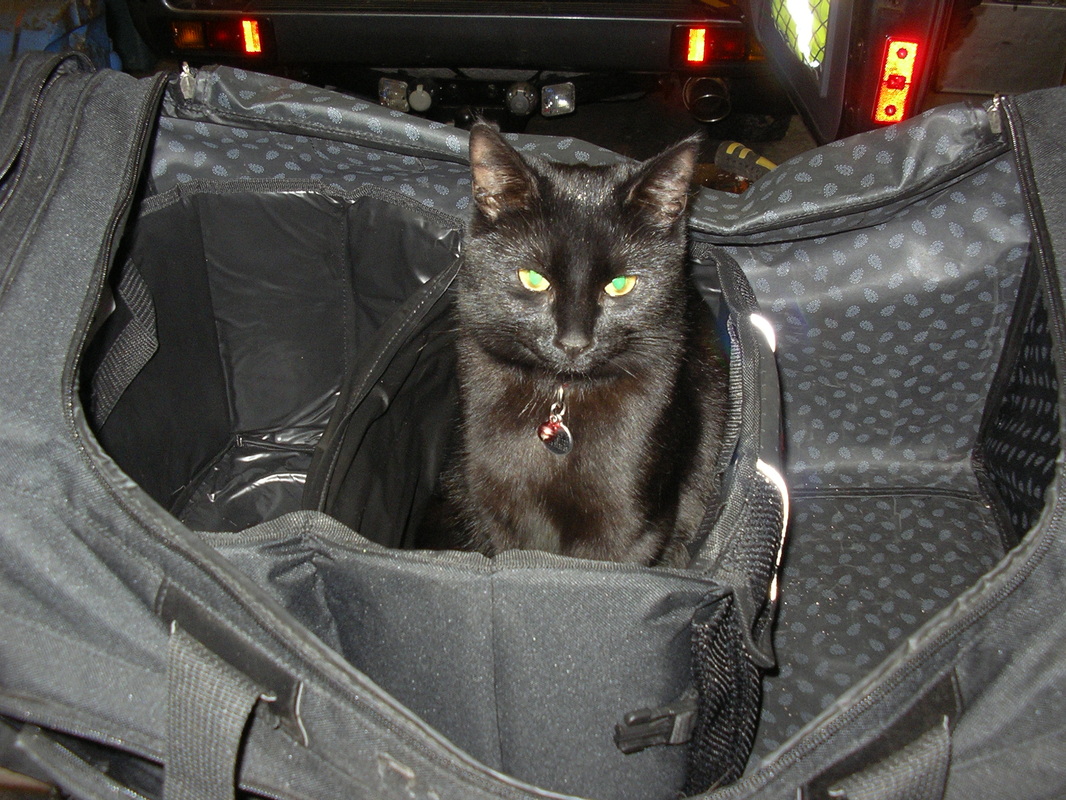
Due credit must go to Holly, who has assisted me throughout this project, and maintained constant close supervision. |
The final job was to fit out the rear loadspace. It was decided to remove the rear seats in order to gain the added space for storage. Various hooks, shelves, ties and netting was incorporated to house the equipment carried. This all has the dual role of covering use for both 4x4 Response and Lowland Search and Rescue.
Since this time considerably more kit has been added, and the rear further modified to accomodate it.
Since this time considerably more kit has been added, and the rear further modified to accomodate it.
The finished vehicle shown above, next to the Disco it replaced. Overall fuel consumption is coming out at 20 mpg for normal road use, but will drop to 16 mpg given towing a large trailer, and 14 mpg if constantly used off-road. However, that is the only downside, in all other respects it is a joy to use, and a far better road vehicle than the Disco, and likely just as capable off-road. It is proving eminently suitable for its intended use.
And for the bottom line, total cost came out at £4,350, with a total build period of 5 months, but this includes long periods of inactivity. This cost includes the fitment of a brand new Toyota rear diff lock, sourced at an excellent price from Milner.
And for the bottom line, total cost came out at £4,350, with a total build period of 5 months, but this includes long periods of inactivity. This cost includes the fitment of a brand new Toyota rear diff lock, sourced at an excellent price from Milner.